The assignment from Class 1 for Introduction to Fabrication, we were asked to create a simple flashlight. Our teacher, Ben Light's, only requirements for the flashlight were:
- It needs to be portable
- It needs to create light
I immediately went to the junk shelf after class to see if I could get any inspiration and I found this small tin:
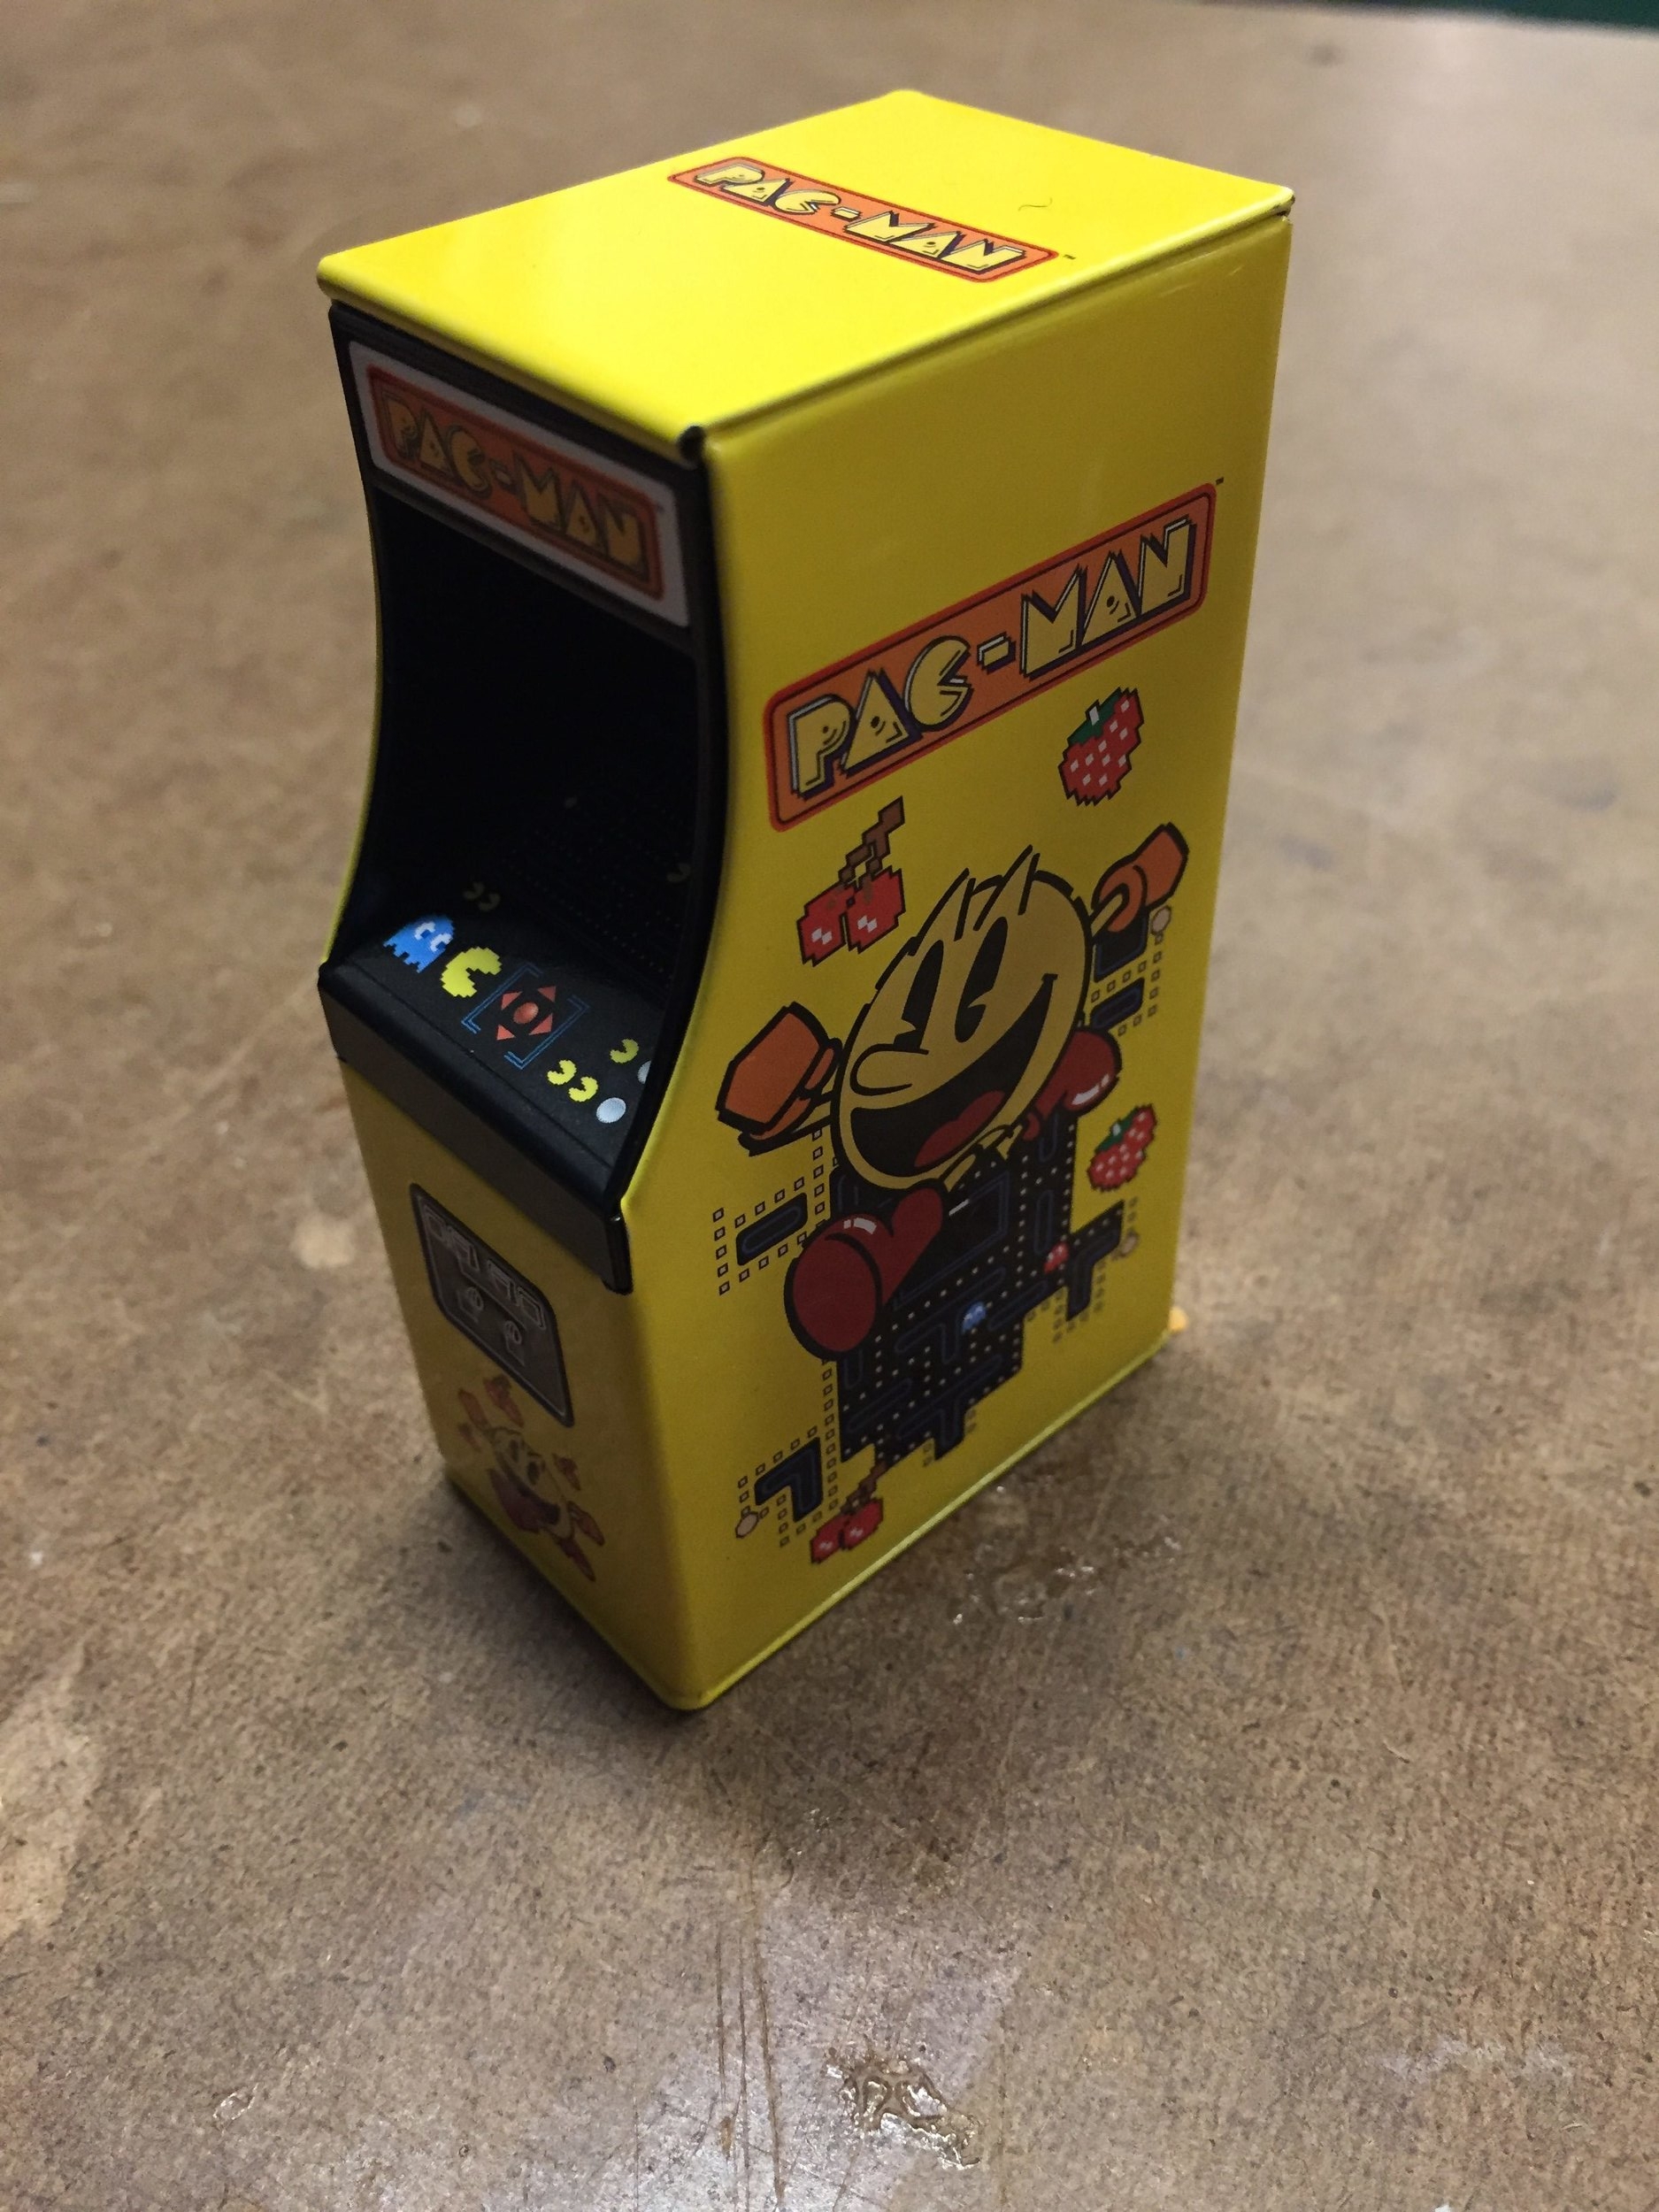
When I found this, I immediately became nostalgic and thought it might be fun to make this into a flashlight.
While searching on the internet, I found this great tutorial--- Mini MOD Monday: DIY LED Altoids Flashlight -- and decided I would use this video to guide me through the creation of the console tin flashlight.

Initial sketch of proposed flashlight

Here are the holes after drilling

Setting up the tin to drill the holes for the button and LED for the flashlight

The drilled holes from the bottom on the tin

I had to cover the inside of the tin in electrical tape to make sure the metal doesn't cause a short circuit

Testing out the circuit after soldering

It works!

What the internal compartment looks like with wiring
The trickiest part of creating this flashlight was to drill the two holes. I had to drill through two layers of tin, both at different angles.
The other difficult part was knowing exactly the correct size to drill the holes for the components. I started off drilling the holes with a smaller bit and worked my way up to the correct hole size. I ended up using 3 different size bits for this.

Here are all the parts and tools I used in this project

Here is the end result